How to Lace ASICS Gel NYC #sneakers #asics #tutorial
268KHey there, sneakerheads! Today, I am super excited to share with you a step-by-step tutorial on how to lace your ASICS Gel NYC sneakers. Whether you’re a seasoned sneaker enthusiast or just getting into the game, mastering the art of lacing can truly elevate the look of your kicks. So, grab your ASICS Gel NYC sneakers and let’s dive right in!
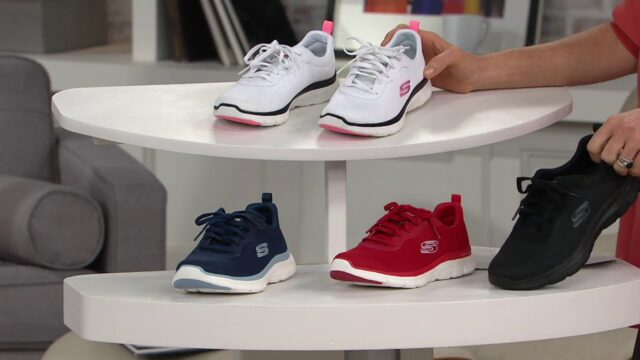
First things first, let’s take a closer look at the ASICS Gel NYC sneakers. These kicks boast a sleek design with the signature ASICS logo emblazoned on the side. The Gel cushioning provides maximum comfort and support, making them the perfect choice for both casual and athletic wear. With the right lacing technique, you can make these sneakers truly stand out.
Now, onto the lacing tutorial. Start by removing the existing laces from your ASICS Gel NYC sneakers. This will give you a clean canvas to work with and ensure that your lacing looks fresh and tidy. Next, grab a pair of new laces that complement the color of your sneakers. I personally love to mix it up with different colors to add a pop of personality to my kicks.
When it comes to lacing your ASICS Gel NYC sneakers, there are several different techniques you can try. One of my favorite methods is the lace swap technique. This involves swapping the laces on each side of the shoe to create a unique and eye-catching design. To do this, start by threading the lace through the bottom eyelets on the inside of the shoe. Then, cross the lace over to the opposite side and thread it through the next set of eyelets. Continue this pattern until you reach the top of the shoe, making sure to keep the lace tight and secure.
Another popular lacing technique for ASICS Gel NYC sneakers is the criss-cross pattern. This involves lacing the shoe in a criss-cross fashion, which provides maximum support and stability. To achieve this look, start by threading the lace through the bottom eyelets on the inside of the shoe. Then, criss-cross the lace over to the opposite side and thread it through the next set of eyelets. Repeat this pattern until you reach the top of the shoe, making sure to keep the lace tight and secure.
For a more intricate look, you can try the ladder lacing technique. This involves weaving the lace through the eyelets in a ladder-like pattern, creating a unique and stylish design. To achieve this look, start by threading the lace through the bottom eyelets on the inside of the shoe. Then, weave the lace up and over to the opposite side, threading it through the next set of eyelets. Continue this pattern until you reach the top of the shoe, making sure to keep the lace tight and secure.
Once you’ve laced up your ASICS Gel NYC sneakers using your preferred technique, it’s time to tie them up. You can opt for a traditional bow tie or get creative with different knot styles to add a personal touch to your kicks. I personally love the double knot for its durability and staying power.
Now that your ASICS Gel NYC sneakers are laced up and looking fly, it’s time to hit the streets and show off your fresh kicks. Whether you’re rocking them with casual jeans or athletic gear, these sneakers are sure to turn heads and make a statement. Remember, the key to rocking a killer pair of sneakers is all in the details, so don’t be afraid to experiment with different lacing techniques and colors to create a look that’s uniquely you.
So there you have it, a complete tutorial on how to lace your ASICS Gel NYC sneakers like a pro. I hope you found this guide helpful and inspiring. Now go ahead and lace up your kicks with confidence and style. Stay fresh, sneakerheads!